XSHELL 5/6/7 Configuration Tutorial (Test Fixture Software Program)
By Thanosmining
May 12th, 2022
This is the software program configuration tutorial of the test fixture. Before using the test fixture, please install the program and make the necessary configuration.
The function of this program is to project the test information of the test fixture onto the computer screen, so that the test results can be viewed more intuitively.
The program consists of two parts:
1. XSHELL 5
2. USB driver
(Click to download XSHELL 5 and USB driver)
 Step 1:
Install the USB driver, click the installation package to complete the installation (as shown in the figure, double-click the USB installation package).
 Click again to complete the installation.
 At this time, please insert the USB cable into the computer (the data cable that comes with the test fixture), and do not turn on the power of the test fixture at this time.
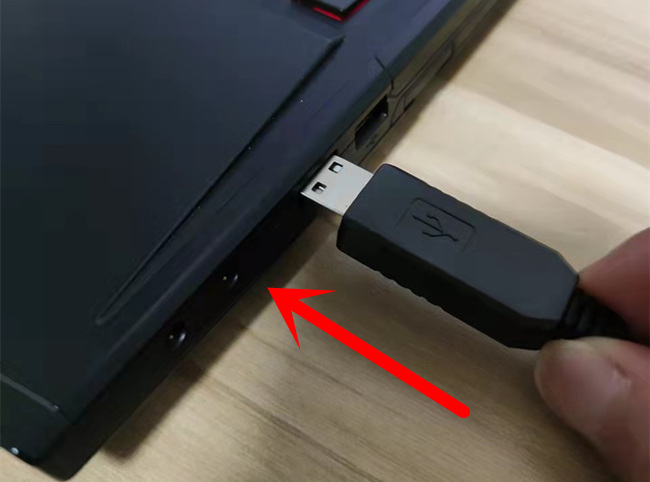 Then enter the "Device Manager" of the computer to check whether the driver is installed successfully, if it is correct, it will prompt "CH340",Remember the port number, you will be asked to fill it later.
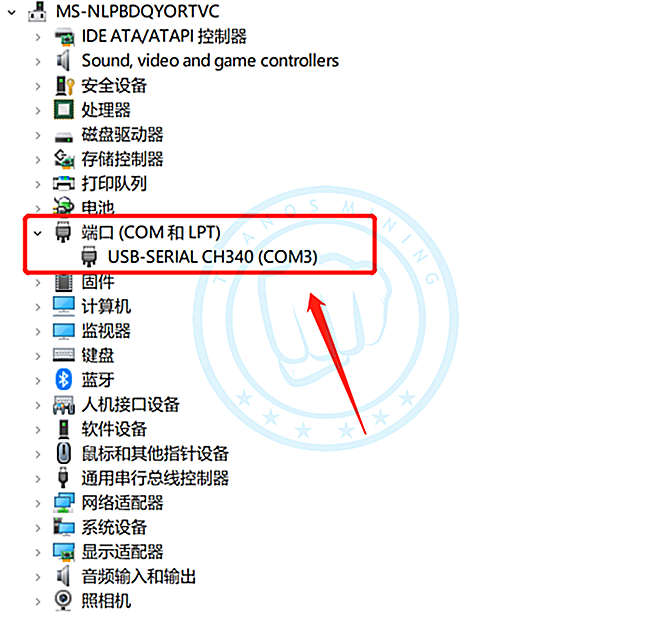 If it doesn't install successfully, please check if your USB port is good and reconnect. If it can be recognized normally, please install the XSHELL program.
Similarly, double-click the "XSHELL" installation package to install:
Please click the button to go to the next step.
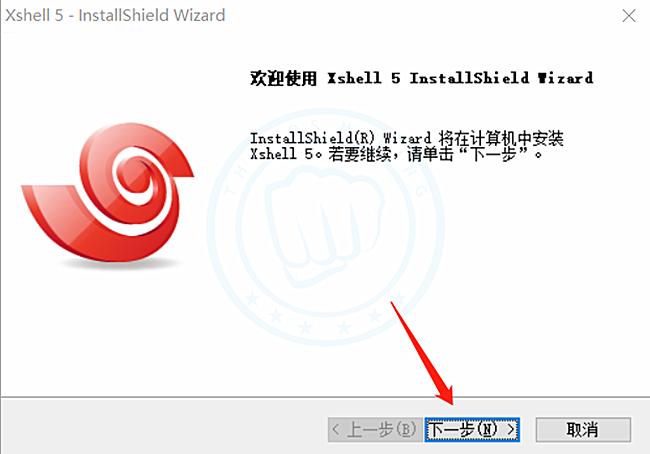 Please choose the second one:
 Please choose the first one:
 Click "N" to go to the next step:
 Click "N" again to go to the next step:
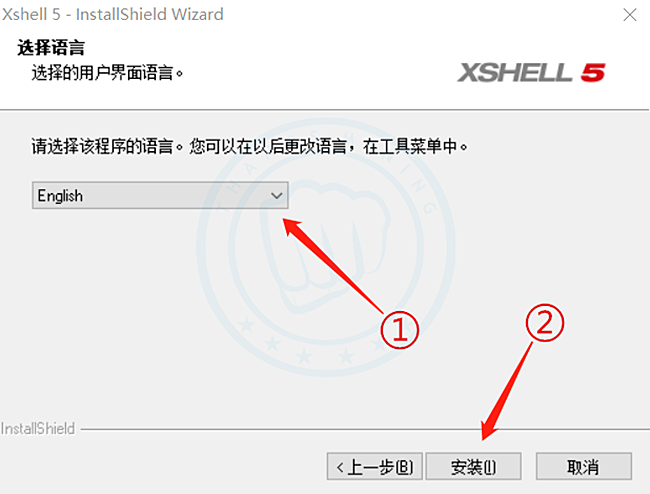
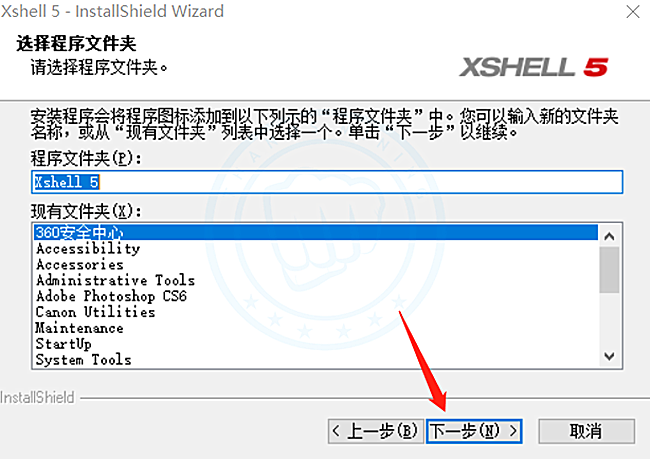 Here you can choose to use "English",
Then click "I" to complete the installation.
 Great, you did it!
 After clicking Done, open and run the software and you will see a dialog prompting you to establish a new connection.
 Please continue to complete the final configuration.
Click on "New Connection":
 Well, friends, let's move on!
Please click to select "SERIAL"
 Let's go ahead and select "RLOGIN" and select the speed as "115200".
 1: Click "SERIAL",
2: Select the port corresponding to the USB (the port number displayed by the USB driver),
3: The speed is also selected as "115200"
4: Finally click "OK"
 At this point, the software interface will prompt "Connecting to com...Connected"
(At this point, it means that your USB driver, XSHELL configuration and other parameters are correct, and XSHELL has been successfully connected to the USB)
 At this point, please turn on the power of the test fixture and wait for the software to perform a self-check... This usually takes 2-4 minutes, please be patient.
During the self-test, the test fixture screen is blank.
 XSHELL will prompt relevant information, please ignore it and wait patiently for a while.
 After the self-check is completed, the test fixture screen will display data representing the model of the test file inside the test fixture (that is, the model of the test Miner machine, here Antminer S9 is used as an example)
 At the same time, XSHELL will also prompt relevant information. At this point, everything is ready to test the hash board with the device.
 Tips:
Tips:
You can check if the device is in good condition by pressing the "Test" button of the test fixture. If there is no Hash board, press the "Test" button, XSHELL will prompt "NO Hash board".
 If a healthy hash board is connected, a full board scan will be performed until complete.
If a damaged hash board is inserted, the serial number of the damaged chip will be displayed during the test.
So far, all the configuration and debugging have been completed, to help you use it happily!

Previous
Innosilicon Miner Tool and Firmware
Read More
Next
Miner Fan Speed Meter User Manual
Read More


